This is an article from contributing writer Fred @ One Project Closer. Fred has been featured on One Smart Dollar before. If you missed it, check out his last contribution on the cost of international adoption.
DIY Home Projects: How To Repair Drywall
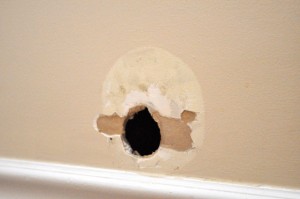
Repairing drywall is, in my opinion, the quintessential do-it-yourself project. The materials are inexpensive, the tools are easy to come by, and there is almost no chance for injury. If you search around online, you’ll find a few different ways to repair a medium-sized drywall hole. The method I demonstrate in this article is tried and true. The result is a strong, flawless repair every time. Read on to learn the best way to patch drywall.
Required Materials
Before you get started, make sure you have these materials at hand:
- Drywall – You’ll need a small piece of new drywall. DIY super centers sell 2′ x 2′ squares that are great for repairs. Make sure the new drywall is the same thickness as the existing drywall. Most walls have 1/2″ drywall, and most ceilings have 1/2″ or 5/8″ drywall.
- Mesh tape – Mesh tape is easier to work with because it has adhesive on one side (unlike paper joint tape that needs to be embedded in mud).
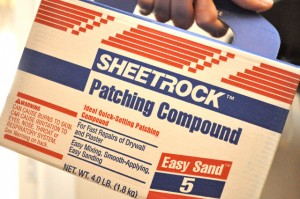
- Setting compound – Setting compound (different than regular joint compound) is a powder that you mix with water. It dries quickly via a chemical reaction, rather than through evaporation like regular joint compound. The number on the package indicates set up time. Beginners should purchase compound with a longer setting time. (Here’s an example 50 lb. bag of 45-minute compound. You can find smaller bags at the big box stores).
- Backer boards – These will be used to support and strengthen the patch. They can be any scrap wood that will fit in through the hole.
- 1-1/4″ Drywall screws
- Medium grit (and optionally, fine grit) sandpaper
- Primer, Paint
Tools
At the minimum, these are the tools you’ll need:
- Drywall saw
- 6″ Drywall knife
- Drill / driver or screwdriver
- 3/8″ nap paint roller
You can find all the necessary tools and materials at your local Home Depot or Lowes. The materials will cost about $15; however, you’ll be able to perform many repairs. Take advantage of Home Depot coupons and discounts for further savings. Sometimes you can find a $5 off $25 coupon that’ll save you a few bucks.
Square the Hole
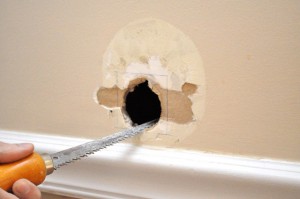
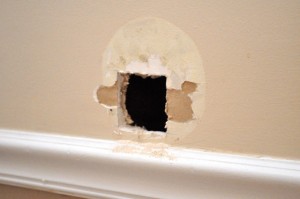
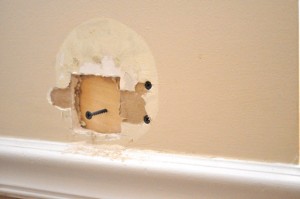
Using the drywall saw, enlarge the hole to form a square or rectangle. This will make it a lot easier to fit a new piece of drywall into the hole.
Attach the Backer Board
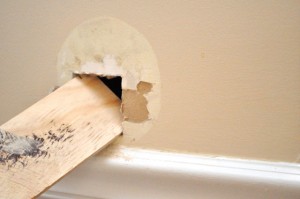
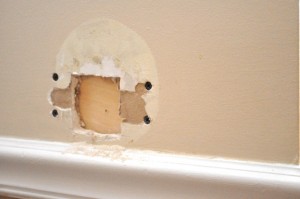
The new piece of drywall needs to be anchored to something, and using a backer board will make the repair much stronger. Carefully slip the backer board into the hole.
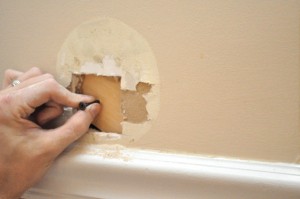
Make it easier to hold the backer board by starting a screw, creating a temporary handle.
Put in a few screws to secure the backer board, and be sure to countersink the screws just below the surface of the drywall.
Cut and Fit New Drywall
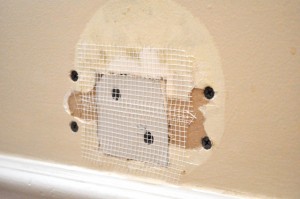
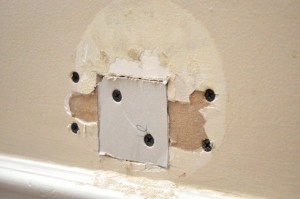
Measure the size of the hole, and cut a new piece of drywall to fit. Next, screw it in place.
Tape Over Joints
Cover all the joints with mesh tape.
Apply Mud
Repairing a medium-sized hole usually takes three applications of setting compound. However, if you’re really good, you can get it done with two. The beauty of using setting compound is that you don’t have to wait very long between coats. In fact, the number on the package indicates set up time, and this is how long you need to wait between applications.
Mudding is an acquired skill. Don’t be frustrated if you don’t get good results right away. You can always sand down the mud and start over. Here’s a decent video on properly mudding drywall.
Mix up the first batch of compound according to the directions and apply the first coat with your drywall knife. Try to fully embed all the mesh and eliminate any air pockets.
Second Coat
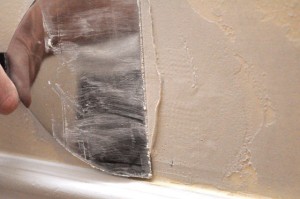
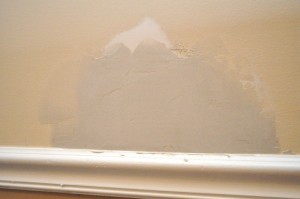
After the first coat sets up, mix up another batch and apply the second coat. The goal for the second coat is to smooth over the repair and feather the edges for a seamless transition.
Final Coat
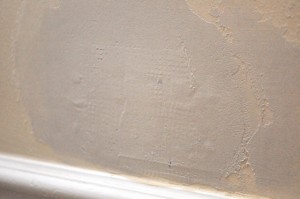
The last application of setting compound is used to further feather the edges of the repair, eliminate any voids and create a completely smooth surface. When you mix this batch, you can make it slightly thinner so that it’s easier to spread.
Sand, Prime & Paint
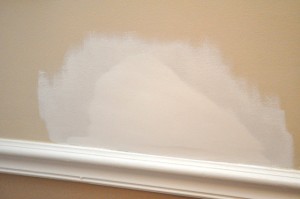
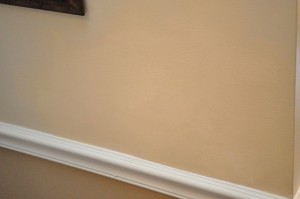
After the compound has completely dried (usually a few hours), lightly sand the repair. When you’re finished, it should feel smooth and you shouldn’t be able to see any seams. Always prime drywall repairs before painting. Otherwise, it’ll absorb paint differently and you’ll be able to see the difference. Also, use a roller because you’ll be able to notice brush strokes.
By following these simple steps you will have learned how to repair drywall and in turn eliminated the need to call in a professional. Be on the lookout next month because Fred will be bringing you a brand new DIY home project how-to.
One Project Closer is a home improvement site where you’ll find expert how-to guides called Pro-Follows. Every Pro-Follow is the result of shadowing a real contractor on an actual job site. In addition, OPC provides tool reviews and coupon information for DIY superstores. If this sounds like your kind of home improvement, I’d encourage you to check out One Project Closer.

We have a whole in our wall that we need to fix, so this came at the perfect time!
awesome 🙂
Glad we could help! Seems like a number of readers actually have this particular problem to deal with. The biggest challenge is just having patience.. Drywall repair takes some time but it can be done so that you can’t see anything.
Awesome article I’ll have to remember this article when my kids happen to punch a hole through a wall. LOL.
I’m glad I have a daughter. Hopefully that won’t be an issue. 🙂
Do you have the instructions on how to replace a bigger portion of drywall??
Sweet, I need to repair a hole in our drywall caused by my dog’s head. This is the second hole in the same spot by the same dog. Not the brightest.
Haha. Thanks for the good laugh.
Great Article! I’ve always struggled with fixing drywall, and this article will help a little problem I have behind my front door!
I am guessing the door handle got the best of your wall? 🙂
My kids got the best of my front door wall. The front door was just the tool they used! 🙂 haha
Shawna, here’s an article that contains tons of tips for much larger drywall installations, but not specifically for handling a “large repair”.
http://www.oneprojectcloser.com/how-to-install-drywall-hanging-taping-finishing/
The only difference for a larger repair is that for large holes, it’s best to cut away back to the nearest studs on each side. You want to cut half-way across the stud to allow you to fasten the patch to the half-stud on the sides. Then it’s just a matter of using a bigger piece of drywall and following the same steps. If you have to do inside or outside corners, the article linked above should help.